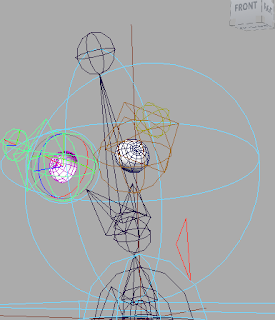
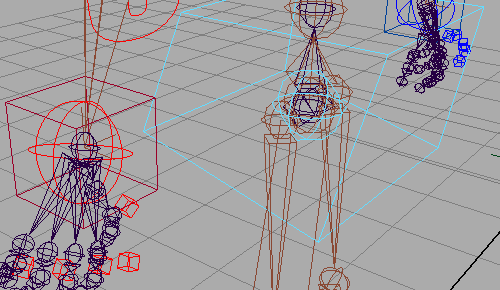
Video 1-3
I've already set up the scene and adjusted the models positioning and started the skeleton from the first 3 videos by creating the leg joints.Video 4
I adjust the joint orientations of the leg so they all stayed the same and after reconnecting all the joints I applied an IK handle and then mirrored the legs
Video 5
Set up the reverse foot bones from the heel and then mirrored it.
Video v6
Used orient and aim constraints to set up the foot rigs so they moved correctly.
Video 7
Started setting up the foot bank controls
Video 8
Made CV curves around the bank controls and used them to continue to make the control objects.
Video 9
Created ball controls to finish the feet rigs.
Video 10
Created Diamond control curves to create the knee controls
Video 11
finished knee controls with cluster control curves linking the controls to their joints so they could be found later if needed when it was being animated.
Video 12-13
Began working on the spine with a cv curve and joints
Video 14
Made the spine twistable using locators
Video 15
Worked on the spine's ability to bend to add hip and chest controls and parented those to the center of gravity
Video 16
Used Hypershade to create +/- averages to program the spine's movement.
Tested spine's movement more
Video 17
Created the head and neck rigs.
Video 18
Created joints for the eyes with joint control curves.
Video 19
Set up and finished the eye controls with NURBS circles and a CV Curb
Video 20-21
Created and set up the arm and shoulder chain.
Video 22
Started creating the finger joints
Video 23
Finished creating and parenting the finger joints
Created IK handles for the arm and hands
Video 24
Created the shoulder controls
Video 25
Created the left arm/wrist controls and color coded them
Video 26
Mirrored the control over to the right and set it up to work correctly
Video 27
Set up the first part of the elbow control
Video 28
Finished the elbow controls with CV curves
Video 29
Started and color coded the finger controls
Video 30
Finished the finger controls so the fingers can be bent.


No comments:
Post a Comment